Key Takeaways:
- Preparation is Key: Gather all necessary tools, check your Wi-Fi strength, and decide between a battery or wired doorbell before starting.
- Pre-Installation Checks: Verify existing doorbell voltage, turn off power for wired setups, and inspect your mounting surface to prevent issues.
- Step-by-Step Setup: Create a Google Nest account, mount the bracket at 48 inches, and connect the doorbell physically and digitally via the Google Home app.
- Wired vs. Battery Considerations: Wired models provide continuous power and integrate with chimes, while battery models are portable and easier to install.
- Testing & Optimization: Test doorbell buttons, live video, and motion alerts; adjust detection zones, camera angle, and notification settings for best performance.
- Troubleshooting Common Issues: Address Wi-Fi problems, power issues, or video feed glitches with simple checks like router placement, battery charge, and firmware updates.
- Maintenance & Smart Integration: Charge batteries as needed, clean the camera lens, update firmware, and connect the Nest Doorbell with smart home devices like locks, lights, and Google Home routines for full functionality.
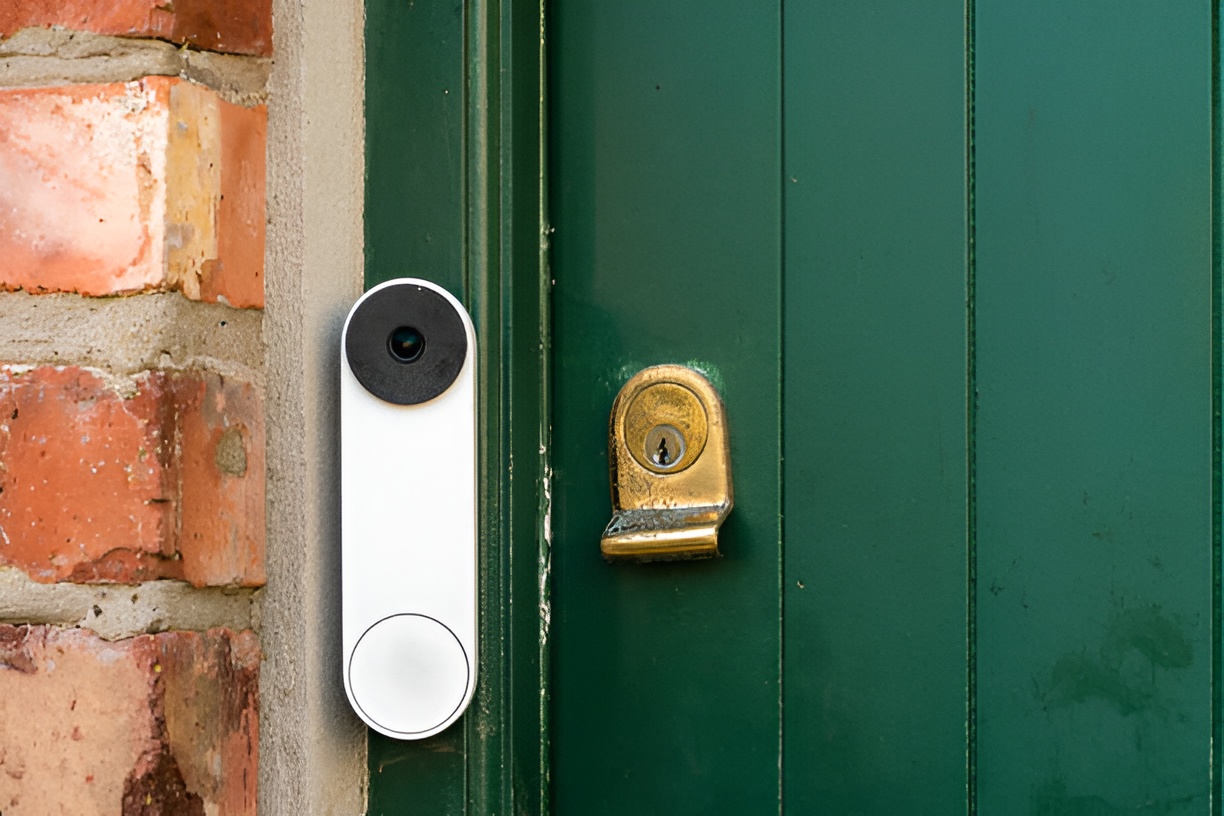
Upgrading your home security doesn’t have to be complicated. With a Google Nest Doorbell, you can see who’s at your door, get instant alerts, and integrate it seamlessly with your smart home setup. But if you’re new to smart home tech, the installation process might feel a little intimidating. Don’t worry—we’ve got you covered. This guide will walk you through Google Nest Doorbell installation from start to finish.
What You Need Before You Start Google Nest Doorbell Installation
Before you pick up your tools, it’s important to prepare thoroughly. Proper planning saves time and prevents mistakes during installation.
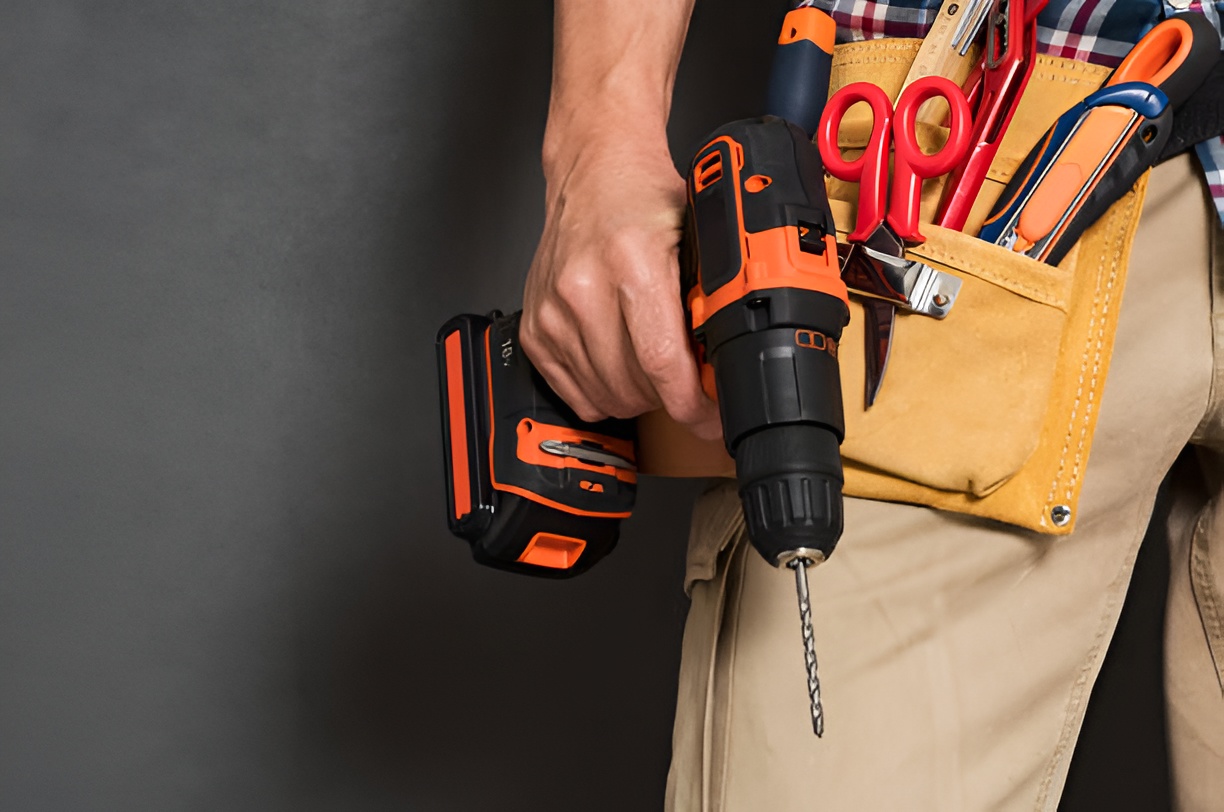
Tools and Equipment Checklist
For a smooth installation, gather the following:
- Google Nest Doorbell (battery or wired version): Ensure you know your model. Battery versions are easier to install and portable, while wired versions offer continuous power and integration with existing chimes.
- Mounting screws and brackets (included): Each Nest Doorbell comes with hardware specific to the model.
- Drill and drill bits: A power drill makes mounting faster, but ensure you have bits suitable for your wall material. Masonry walls need special bits and anchors.
- Screwdriver (Phillips and flathead): Essential for securing screws and wiring connections.
- Level: Ensures your doorbell sits straight and captures a properly aligned video feed.
- Pencil: For marking drill points and bracket placement.
- Wi-Fi-enabled smartphone or tablet: Required to complete setup via the Google Home app.
- Chime connector (for wired setups): Ensures compatibility with your existing doorbell chime.
- Optional – Anchors for masonry or brick walls: Recommended for solid walls to prevent the doorbell from loosening over time.
Pro Tip: Lay all tools and components out before starting, so you have everything within reach.
Pre-Installation Considerations
Before drilling any holes, consider the following:
- Battery or Wired:
- Battery models are portable, don’t require wiring, and can be mounted almost anywhere.
- Wired models provide continuous power and integrate with your existing doorbell chime.
- Wi-Fi Strength:
- A strong Wi-Fi signal ensures smooth video streaming, fast notifications, and reliable motion alerts.
- If your front door is far from the router, consider a Wi-Fi extender.
- Placement:
- Mount at chest height (~48 inches from the ground) for optimal facial recognition and video coverage.
- Avoid areas directly in the sun, rain, or facing streetlights to prevent glare and false motion alerts.
- Doorbell Angle:
- If your walkway curves or is not directly in front of the door, tilt the doorbell slightly to capture the best view of visitors.
How Do I Prepare My Home for Google Nest Doorbell Installation?
Proper preparation ensures a smooth and safe installation.
- Check Your Existing Doorbell (for wired setups):
- Verify the voltage is between 16–24V AC, which is compatible with Nest Doorbells.
- Confirm your chime is compatible with Nest.
- Turn Off Power:
- For wired installations, switch off your breaker to prevent shocks during wiring.
- Remove Old Doorbell:
- Unscrew your current doorbell and carefully detach wires, leaving them accessible.
- Keep screws or anchors if you plan to reuse them.
- Test Wires (for wired setups):
- Use a multimeter to confirm your wires are live. Proper power delivery is crucial for functionality.
- Inspect Your Mounting Surface:
- Smooth wood or siding is easiest to drill.
- Brick, stucco, or concrete requires anchors to secure the bracket properly.
Tip: Take a photo of your old wiring setup before removing it. This will help if you need to reference it during wiring.
Step 1: Set Up Your Google Nest Account
Setting up your account before mounting the doorbell ensures a seamless digital setup.
- Download the Google Home App – Available for iOS and Android.
- Sign in with your Google account or create one if you don’t have it yet.
- Add your device: Tap Add > Set up device > New device.
- Follow on-screen prompts: Connect the doorbell to Wi-Fi and give it a descriptive name, like “Front Door.”
- Check for updates: The app may prompt you to update firmware—do this before completing installation.
Pro Tip: Pre-configuring your doorbell digitally allows you to test it as soon as it’s mounted.
Step 2: Mounting the Doorbell Bracket
The mounting bracket secures your doorbell and ensures it captures the right field of view.
How High Should I Mount My Nest Doorbell?
- 48 inches (122 cm) from the ground is recommended for optimal facial recognition.
- Adjust slightly if your door has unusual height or visitors are mostly children or people using wheelchairs.
Mounting Instructions
- Use a level to mark the screw holes.
- Drill holes for your screws. If mounting on brick, stucco, or concrete, insert anchors first.
- Attach the mounting bracket securely and double-check that it’s flush with the wall.
- Ensure the bracket is level—crooked mounts will distort the video feed.
Pro Tip: If possible, use a pencil to lightly mark both the top and bottom of the bracket so you know the exact alignment before drilling.
Step 3: Wiring Your Doorbell (For Wired Models)
For wired Nest Doorbells, connecting the wires properly is crucial.
- Attach wires to screws: Polarity doesn’t matter—just ensure solid contact.
- Install chime connector: Many wired setups require a chime connector to prevent buzzing or chime issues. Follow the manufacturer’s instructions.
- Check connections: Loose wires can prevent the doorbell from powering on. Double-check before mounting the unit.
Tip: If your existing wires are old or frayed, replace them with new doorbell wires for safety and reliability.
Step 4: Attaching the Doorbell
- Align the Nest Doorbell with the mounting bracket.
- Slide it into place until you hear a click.
- For battery models, make sure the battery is inserted properly.
- Restore power at the breaker if using a wired doorbell.
Pro Tip: Give the doorbell a gentle tug after mounting to ensure it’s securely attached.
Step 5: Connecting to Wi-Fi and Google Home
Once the doorbell is physically mounted, the next step is connecting it digitally. This ensures live video, alerts, and full smart-home integration.
- Open the Google Home App – Make sure your smartphone or tablet is connected to your home Wi-Fi network.
- Select Your Device – The app should detect your Nest Doorbell automatically.
- Follow the Prompts:
- Connect the doorbell to your Wi-Fi network.
- Name your device (e.g., “Front Door,” “Side Gate”).
- Confirm location and permissions.
- Test the Live Feed: Open the live video stream to ensure smooth streaming and clear image quality.
- Adjust Settings:
- Motion Detection Zones: Focus detection on walkways, pathways, or areas where visitors appear.
- Notifications: Choose whether to receive alerts for motion, people, packages, or all movement.
- Chime Preferences: For wired models with a chime, adjust volume and alert patterns.
Pro Tip: Place your phone temporarily near the doorbell to confirm a strong Wi-Fi connection before finishing the setup. Weak signals can cause laggy video or missed alerts.
Step 6: Testing Your Google Nest Doorbell
Testing ensures your doorbell works as expected before relying on it for security.
- Press the Doorbell Button: Verify your chime sounds and notifications appear on your devices.
- Check the Live Video Feed: Make sure the video is clear, with no lag or pixelation.
- Test Motion Alerts: Walk past the doorbell to see if alerts trigger in the app.
- Fine-Tune Settings: Adjust sensitivity and detection zones to prevent false alerts from pets, passing cars, or trees.
Pro Tip: Test at different times of the day—morning, midday, and evening—to ensure good performance in various lighting conditions.
Common Problems During Google Nest Doorbell Installation
Even with proper preparation, some issues can arise. Here are the most common problems and solutions:
1. Wi-Fi Connection Problems
- Symptoms: Video won’t load, notifications are delayed, or setup fails.
- Solutions:
- Move your router closer or use a Wi-Fi extender.
- Connect to a compatible network (some models prefer 2.4 GHz over 5 GHz).
- Restart the Google Home app or your phone.
2. Doorbell Not Powering On
- Battery Model: Ensure the battery is fully charged. Remove and reinsert if necessary.
- Wired Model: Verify wiring connections and confirm the breaker is on.
3. Video Feed Issues
- Symptoms: Blurry, frozen, or laggy video.
- Solutions:
- Check Wi-Fi strength near the doorbell.
- Restart the doorbell via the Google Home app.
- Ensure no firmware updates are pending.
Pro Tip: Nest Doorbells work best with strong, stable Wi-Fi. If problems persist, consider a mesh Wi-Fi system for consistent coverage.
Tips for Optimizing Your Google Nest Doorbell Installation
After installation, a few extra steps can improve functionality and longevity:
- Camera Angle: Slightly angle the doorbell toward the walkway for better recognition of faces and packages.
- Weather Protection: Use a small cover or shield if your doorbell is exposed to direct rain, snow, or sunlight.
- Software Updates: Regularly check for firmware updates via the Google Home app to keep features and security current.
- Lens Cleaning: Dust or rain spots can affect image quality. Clean the camera lens gently with a microfiber cloth.
- Test Alerts Periodically: Check notifications monthly to ensure motion detection and video alerts are functioning.
Should I Hire a Professional?
While Google Nest Doorbell installation is beginner-friendly, there are cases when hiring a pro makes sense:
- You’re uncomfortable with electrical work.
- Your Wi-Fi coverage is weak or hard to extend.
- You want a perfect aesthetic mount on brick, stone, or stucco walls.
Professional installation ensures:
- Secure, level mounting on tricky surfaces.
- Proper wiring and chime setup.
- Peace of mind that the doorbell is fully functional from day one.
Tip: Many pros also offer guidance on integrating the Nest Doorbell with other smart devices during installation.
How to Maintain Your Nest Doorbell
Proper maintenance keeps your Nest Doorbell working efficiently:
- Battery Models: Charge when the app indicates low power. Nest will notify you via app alerts.
- Firmware Updates: Keep the software current to maintain security, performance, and new features.
- Check the Mounting Bracket: Ensure screws remain tight and the bracket is stable.
- Clean Camera Lens and Sensors: Gently wipe with a microfiber cloth to avoid scratches.
- Inspect for Damage: After storms or extreme weather, check the doorbell for cracks, moisture, or loose connections.
Pro Tip: Set a reminder every 3–4 months to inspect and clean your Nest Doorbell.
Integrating Your Google Nest Doorbell with Other Smart Devices
A Nest Doorbell is more than just a camera—it can be part of a fully integrated smart home system:
- Google Home Voice Commands: “Hey Google, show me the front door” to view live video on your phone, tablet, or smart display.
- Smart Locks: Pair with compatible smart locks to grant remote entry to guests or service personnel.
- Automation Routines:
- Turn on outdoor lights when motion is detected.
- Record video automatically during specific times or when you leave home.
- Security Alerts: Combine with Nest cameras or alarms to receive instant notifications for unusual activity.
Pro Tip: Label devices in the Google Home app clearly (e.g., “Front Door,” “Garage”) for easier management of multiple smart home devices.
Conclusion: Enjoy Your Upgraded Home Security
Installing a Google Nest Doorbell doesn’t have to be complicated. By following this step-by-step guide, you can enjoy the benefits of a smart, connected home with peace of mind. Remember to test everything, optimize your settings, and maintain your device regularly. With proper installation, your Nest Doorbell will be a reliable part of your home security system for years to come.