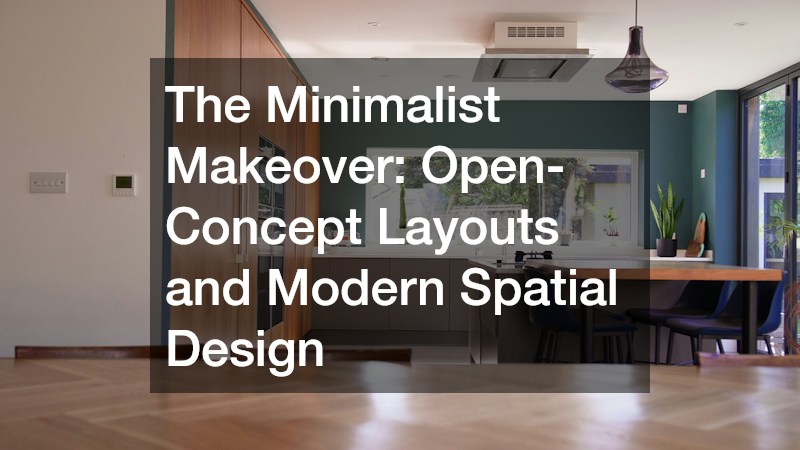
The traditional floor plan, characterized by a series of enclosed rooms, tight hallways, and boxed-in living spaces, was designed for a different era. Today, modern living demands flexibility, connection, and visual breathability. The visual clutter created by unnecessary walls, mismatched finishes, and poorly planned storage often leads to a chaotic environment that hinders relaxation and daily efficiency.
The minimalist makeover is more than just a passing trend; it is a fundamental shift in how we structure and experience our personal spaces. By combining open-concept layouts with modern spatial design, homeowners can transform dark, compartmentalized rooms into bright, cohesive environments where light flows freely and every square foot serves a distinct purpose.
However, transitioning a traditional home into an open-concept sanctuary requires careful planning. Removing walls affects structural loads, mechanical systems, acoustics, and storage capacities. This detailed guide provides a step-by-step roadmap for executing a minimalist makeover. From structural considerations and custom cabinetry to continuous flooring and material choices, you will learn how to design an open, uncluttered home that balances form and function.
Phase 1: Rethinking Spatial Flow and Removing Architectural Barriers
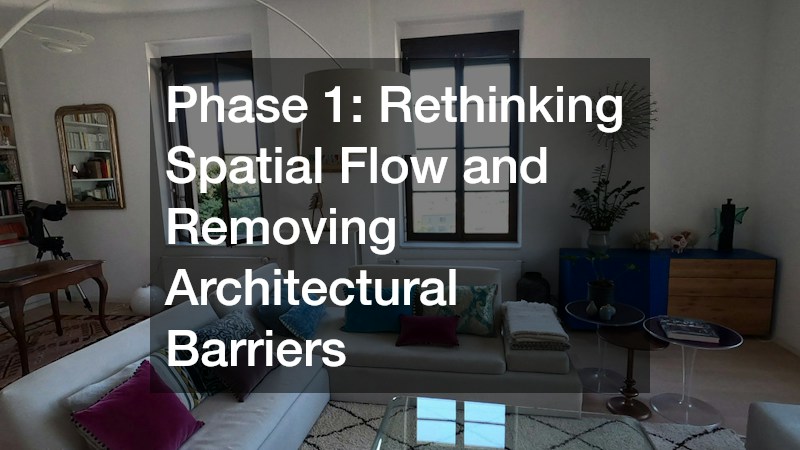
The core foundation of open-concept design is the removal of visual and physical barriers between the kitchen, dining, and living areas. Creating a flowing layout requires evaluating load-bearing structures, understanding spatial proportions, and planning movement throughout the floor plan.
Before removing any interior partitions, you must understand your home’s structural framing. Walls fall into two primary categories: non-load-bearing partition walls and load-bearing structural walls.
-
Non-Load-Bearing Partitions: These interior walls simply divide space and support their own weight. Removing them is straightforward and typically involves minimal structural framing alterations.
-
Load-Bearing Walls: These structural elements support the weight of the roof, upper floors, or ceiling joists above. Eliminating a load-bearing wall requires installing alternative support systems, such as laminated veneer lumber (LVL) or steel I-beams, resting on structural posts with reinforced footings beneath.
When opening up sightlines, aim to create uninterrupted views from the entryway through primary gathering spaces toward exterior windows. This design strategy maximizes natural light penetration and makes modest footprints feel significantly larger.
Defining Functional Zones Without Physical Walls
Removing interior walls eliminates traditional room boundaries, which makes spatial zoning essential. Without clear zones, a large open floor plan can feel cavernous and unorganized. You can establish intuitive zones through visual cues rather than solid barriers:
-
Floating Furniture Configurations: Group seating around focal points, such as a fireplace or large window, keeping furniture backs oriented toward circulation paths to define the living zone cleanly.
-
Architectural Ceiling Drops: Utilize subtle soffits, recessed ceiling details, or exposed timber beams to define distinct zones overhead without obstructing eye-level sightlines.
-
Strategic Lighting Grids: Install separate lighting circuits and dimmers for the kitchen, dining, and living zones to visually isolate or highlight specific functional areas throughout the day.
Structural alterations require professional design and construction oversight. Working with a reputable home remodeling company guarantees that your open-concept transformation complies with local building codes, structural engineering standards, and municipal permit requirements.
Full-service home remodeling services manage every phase of structural redesign, from initial architectural plans and permit submissions to wall demolition, beam installation, and utility rerouting. Their expertise prevents structural sag, drywall cracking, and unexpected delays.
Plan your open layout carefully before beginning demolition:
-
Map Circulation Paths with Floor Tape: Use painter’s tape to outline furniture dimensions and primary walking paths (aim for minimum 36-to-48-inch clearance aisles) on your floor before removing partition walls.
-
Incorporate Linear Architectural Lighting: Install flush, recessed magnetic track lighting along main ceiling axes to draw the eye through the open space without cluttering the ceiling plane with hanging fixtures.
Phase 2: Eliminating Visual Clutter with Modern Storage Architecture
Open-concept homes leave little room to hide daily mess. Without physical walls to conceal kitchen appliances, mail piles, or kids’ toys, clutter can spread quickly across open sightlines. The minimalist approach addresses this challenge through integrated, high-capacity storage solutions that keep items hidden behind sleek surfaces.
Minimalism is not about getting rid of everything you own; it is about organizing your home so that functional objects remain accessible while daily visual noise is kept out of sight.
To achieve a clean, modern aesthetic, storage should blend directly into the surrounding architecture. Cabinets should look less like individual pieces of furniture and more like continuous, architectural wall panels.
Modern storage design relies heavily on flat-panel, flush-fitting cabinet doors. Eliminating raised panels, intricate trim moldings, and external handles creates smooth, uninterrupted surfaces that reflect light evenly.
-
Push-to-Open Hardware: Touch-latch mechanisms allow cabinet doors to open smoothly with a light press, removing the need for knobs or pulls.
-
Integrated J-Pull Handles: Discrete, routered channels along door edges provide clean grip lines while maintaining a completely flat front profile.
-
Vertical Grain Matching: When using natural wood veneers, matching the grain patterns across adjacent cabinet doors creates a cohesive, continuous look across long storage walls.
Achieving a seamless, built-in appearance often requires customized storage solutions tailored to your floor plan’s exact dimensions.
Collaborating with a local cabinet company allows you to design custom floor-to-ceiling storage banks, integrated appliance pantries, and concealed media centers that maximize every vertical inch of wall space.
Sourcing specialized kitchen cabinet services ensures your interior cabinet configurations feature modern organizational hardware, such as full-extension pull-out drawers, hidden charging stations, motorized lift systems, and heavy-duty corner organizers that keep countertops completely clear.
Hide daily essentials behind continuous cabinet fronts:
-
Design a Hidden Appliance Station: Install a dedicated appliance garage featuring pocket doors that slide back into the cabinet frame, allowing coffee makers and toasters to be used easily and then completely hidden away.
-
Specify Full-Overlay Construction: Choose full-overlay or frameless European-style cabinet frames to minimize the gaps between doors, achieving thin, uniform reveal lines across entire cabinet walls.
Phase 3: Sourcing Sleek Surfaces and Seamless Material Transitions
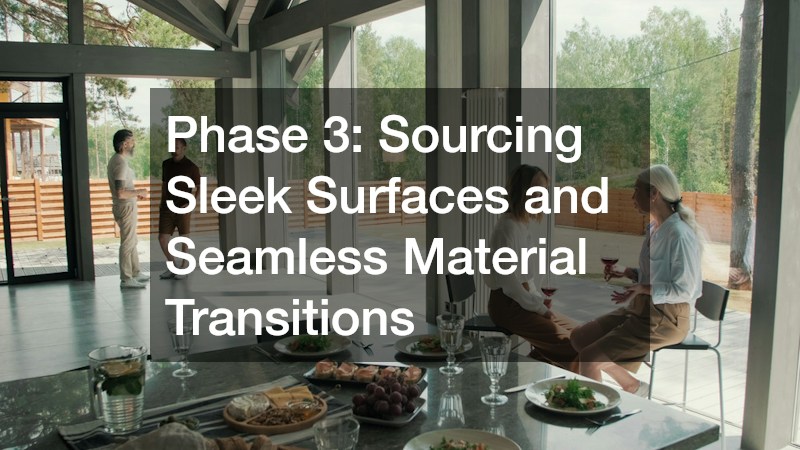
In an open-concept space, surface materials are constantly on display from multiple viewing angles. Selecting durable, low-maintenance materials with clean edge details ensures your surfaces stay looking pristine while contributing to a unified aesthetic.
Minimalism does not mean your space has to feel cold or sterile. By pairing monochromatic color schemes with rich, organic textures—such as subtle stone veining, warm wood grains, and matte finishes—you can create an inviting space that retains its sleek appeal.
When choosing horizontal prep surfaces, select non-porous materials that resist staining, scratching, and heat, ensuring daily maintenance remains effortless.
Surface Fabrication and Clean Edge Detailing
The way counter edges, backsplashes, and sinks meet dictates the overall visual clean-line quality of your kitchen area.
Scheduling a professional countertop installation guarantees that stone slabs are cut and fitted with minimal, inconspicuous seam placement across long spans and corner runs.
To preserve clean horizontal sightlines, opt for mitered waterfall edges, where the stone top transitions down the side of an island to the floor with a seamless 45-degree corner joint.
When choosing counter materials, engineered composite surfaces offer ideal performance and aesthetic versatility for modern homes.
Selecting a premium quartz countertop gives you the beauty of natural stone alongside exceptional durability, non-porous stain resistance, and uniform patterning.
Engineered quartz surfaces come in matte, honed, or polished finishes, making them a practical choice for high-use kitchen islands and prep zones in open-concept environments.
Refine your surface choices with these modern execution details:
-
Specify Full-Height Slab Backsplashes: Extend your counter stone directly up the wall to the upper cabinets or ceiling, eliminating horizontal grout lines and material breaks.
-
Incorporate Integrated Undermount Sinks: Choose an undermount sink installed flush beneath the stone cutout, allowing crumbs and water to be wiped straight from the counter into the basin without catching on a raised rim.
Phase 4: Anchoring the Kitchen Zone with Architectural Millwork
In open-concept layouts, the kitchen is no longer isolated behind walls; it serves as the central focal point of the living space. Designing a kitchen that functions as an efficient culinary workspace while blending effortlessly with adjacent dining and living areas requires thoughtful millwork and layout choices.
The kitchen island serves as the primary bridge between the prep zone and surrounding living spaces. In minimalist design, the island should feel like a custom piece of architectural furniture rather than a utility workstation.
-
Concealed Work Zones: Position deep sinks, trash pull-outs, and dishwashers on the inner, prep-facing side of the island so dirty dishes remain hidden from living room views.
-
Cantilevered Breakfast Bars: Create seating overhangs using concealed steel support brackets hidden inside the island structure, eliminating the need for bulky diagonal corbels or support legs.
-
Continuous Material Wrapping: Wrap the island’s sides and front face in the same material as your perimeter cabinets or counter stone to ground the structure visually within the open room.
To maintain a unified feel throughout the main floor, kitchen cabinetry should share design elements, finish colors, and wood species with adjacent living room media units and dining room storage.
Investing in custom kitchen cabinetry allows you to create custom paneling that conceals built-in refrigerators, wine coolers, and pantries behind doors that match your surrounding wall panels and storage units.
Working with experienced kitchen contractors ensures that built-in appliances are recessed completely flush with surrounding cabinet faces and that ventilation hoods are fully integrated into custom soffits or cabinet housings.
Streamline your kitchen’s architectural details with these installation strategies:
-
Eliminate Surface Moldings: Require your installers to scribe cabinet panels flush against smooth walls and ceilings, avoiding traditional crown moldings, shoe moldings, and decorative trim.
-
Use Flush-Mount Cooktops: Select induction cooktops that drop flush into stone counter cutouts, creating a continuous flat surface that doubles as usable prep space when not in use.
Phase 5: Flooring Transitions and Acoustic Balance in Open Spaces
While open-concept designs offer bright, airy floor plans, they also introduce distinct functional challenges—namely, handling acoustic echo and maintaining smooth flooring transitions across large, wall-free areas. Managing sound and selecting continuous floor materials are critical steps in creating a comfortable, serene living environment.
Large open areas with hard flooring, tall ceilings, and long glass walls can create harsh echo and sound transmission between functional zones. You can soften room acoustics without re-erecting solid partition walls by incorporating sound-dampening elements into your design:
-
Acoustic Ceiling Treatments: Install micro-perforated acoustic drywall or integrated wood-slat ceiling panels lined with sound-absorbing felt backing to trap ambient noise overhead.
-
Upholstered Wall Panels: Incorporate fabric wall panels, floor-to-ceiling drapery, and upholstered furniture pieces to absorb high-frequency sound waves.
-
Strategic Rug Placement: Use dense, low-pile area rugs beneath dining tables and seating groups to dampen foot traffic noise and anchor individual zones visually.
Selecting and Installing Continuous Flooring

To make an open-concept space feel as large and cohesive as possible, run a single flooring material continuously across the entire main floor, avoiding awkward transition strips between zones.
Partnering with a reliable local carpet company provides access to custom-cut area rugs, acoustic underlayments, and low-profile carpets designed to soften living zones while complementing nearby hard surfaces.
Hiring professional flooring services ensures your subfloors are completely leveled, structurally reinforced, and prepared for seamless, threshold-free installations of wide-plank hardwood, engineered timber, or polished concrete.
Optimize acoustic quality and visual continuity underfoot:
-
Specify Flush-Mount Floor Vents: Replace standard raised metal floor registers with flush-mounted wood or stone vents that sit flush with your continuous flooring.
-
Incorporate Premium Rubber Underlayment: Install high-density acoustic rubber underlayments beneath hard-surface flooring to reduce footfall sound transmission between levels.
Phase 6: Lighting, Color Palettes, and Final Minimalist Touchpoints
The final phase of a minimalist makeover focuses on lighting layers, color palettes, and curated interior details. These final elements bring warmth, depth, and character to the open layout without introducing visual clutter.
Lighting in an open space must adapt to changing needs throughout the day—from bright task lighting for cooking to soft, ambient lighting for evening relaxation. Achieving this versatility requires a layered lighting strategy:
-
Recessed Architectural Downlights: Use small-aperture, deep-regressed LED downlights arranged in subtle grids to provide general room illumination without glare.
-
Concealed Ambient Cove Lighting: Install LED strip lighting inside ceiling coves, under cabinet bases, and behind floating wall panels to cast a soft, warm glow across vertical surfaces.
-
Statement Pendant Fixtures: Limit decorative hanging lights to one or two key focal points—such as directly over the kitchen island or dining table—to anchor those functional areas visually.
Curating a Cohesive Color and Material Palette

A minimalist color palette relies on subtle tonal variations rather than high-contrast patterns. Base your interior palette on neutral foundation shades, such as warm off-whites, soft grays, and muted taupes, applied consistently across open walls and ceilings.
Layer depth into the space by combining contrasting material textures—such as matte black metal accents, natural oak, honed stone, and woven linen fabrics. Limiting your palette to three core materials keeps the overall space feeling intentional, balanced, and serene.
Refine your open-concept sanctuary with these lighting and color choices:
-
Install Smart Lighting Controls: Program multi-zone light scenes into a smart control system, allowing you to transition the entire open area from task lighting to relaxation mode with a single touch.
-
Match Hardware Finishes Throughout: Keep metal finishes consistent across all visible cabinet hardware, door handles, light fixtures, and plumbing trim for a unified, polished look.
Transforming a traditional, compartmentalized house into a modern open-concept home is a powerful way to enhance daily living, maximize usable space, and bring natural light deep into your home. A successful minimalist makeover balances open, uncluttered spaces with hidden, highly functional storage, ensuring your home remains organized, comfortable, and practical.
By evaluating structural loads early, selecting continuous quality materials, and working with experienced trade professionals, you can navigate the complexities of open-concept remodeling with confidence. Every choice—from custom wall-to-wall cabinetry to acoustic flooring underlayments—helps create a home that feels calm, spacious, and thoughtfully designed.
Minimalist spatial design focuses on creating an environment that supports your lifestyle without the distraction of unnecessary clutter. With a clear design plan, realistic budget, and the right team of professionals, you can turn your living space into an open, modern sanctuary that you will enjoy for years to come.